
How to Enable Offline Notifications
Select your device type for the corresponding setup guide
iPhone Offline Notification Setup
When you first open the app, tap "Allow Notifications".
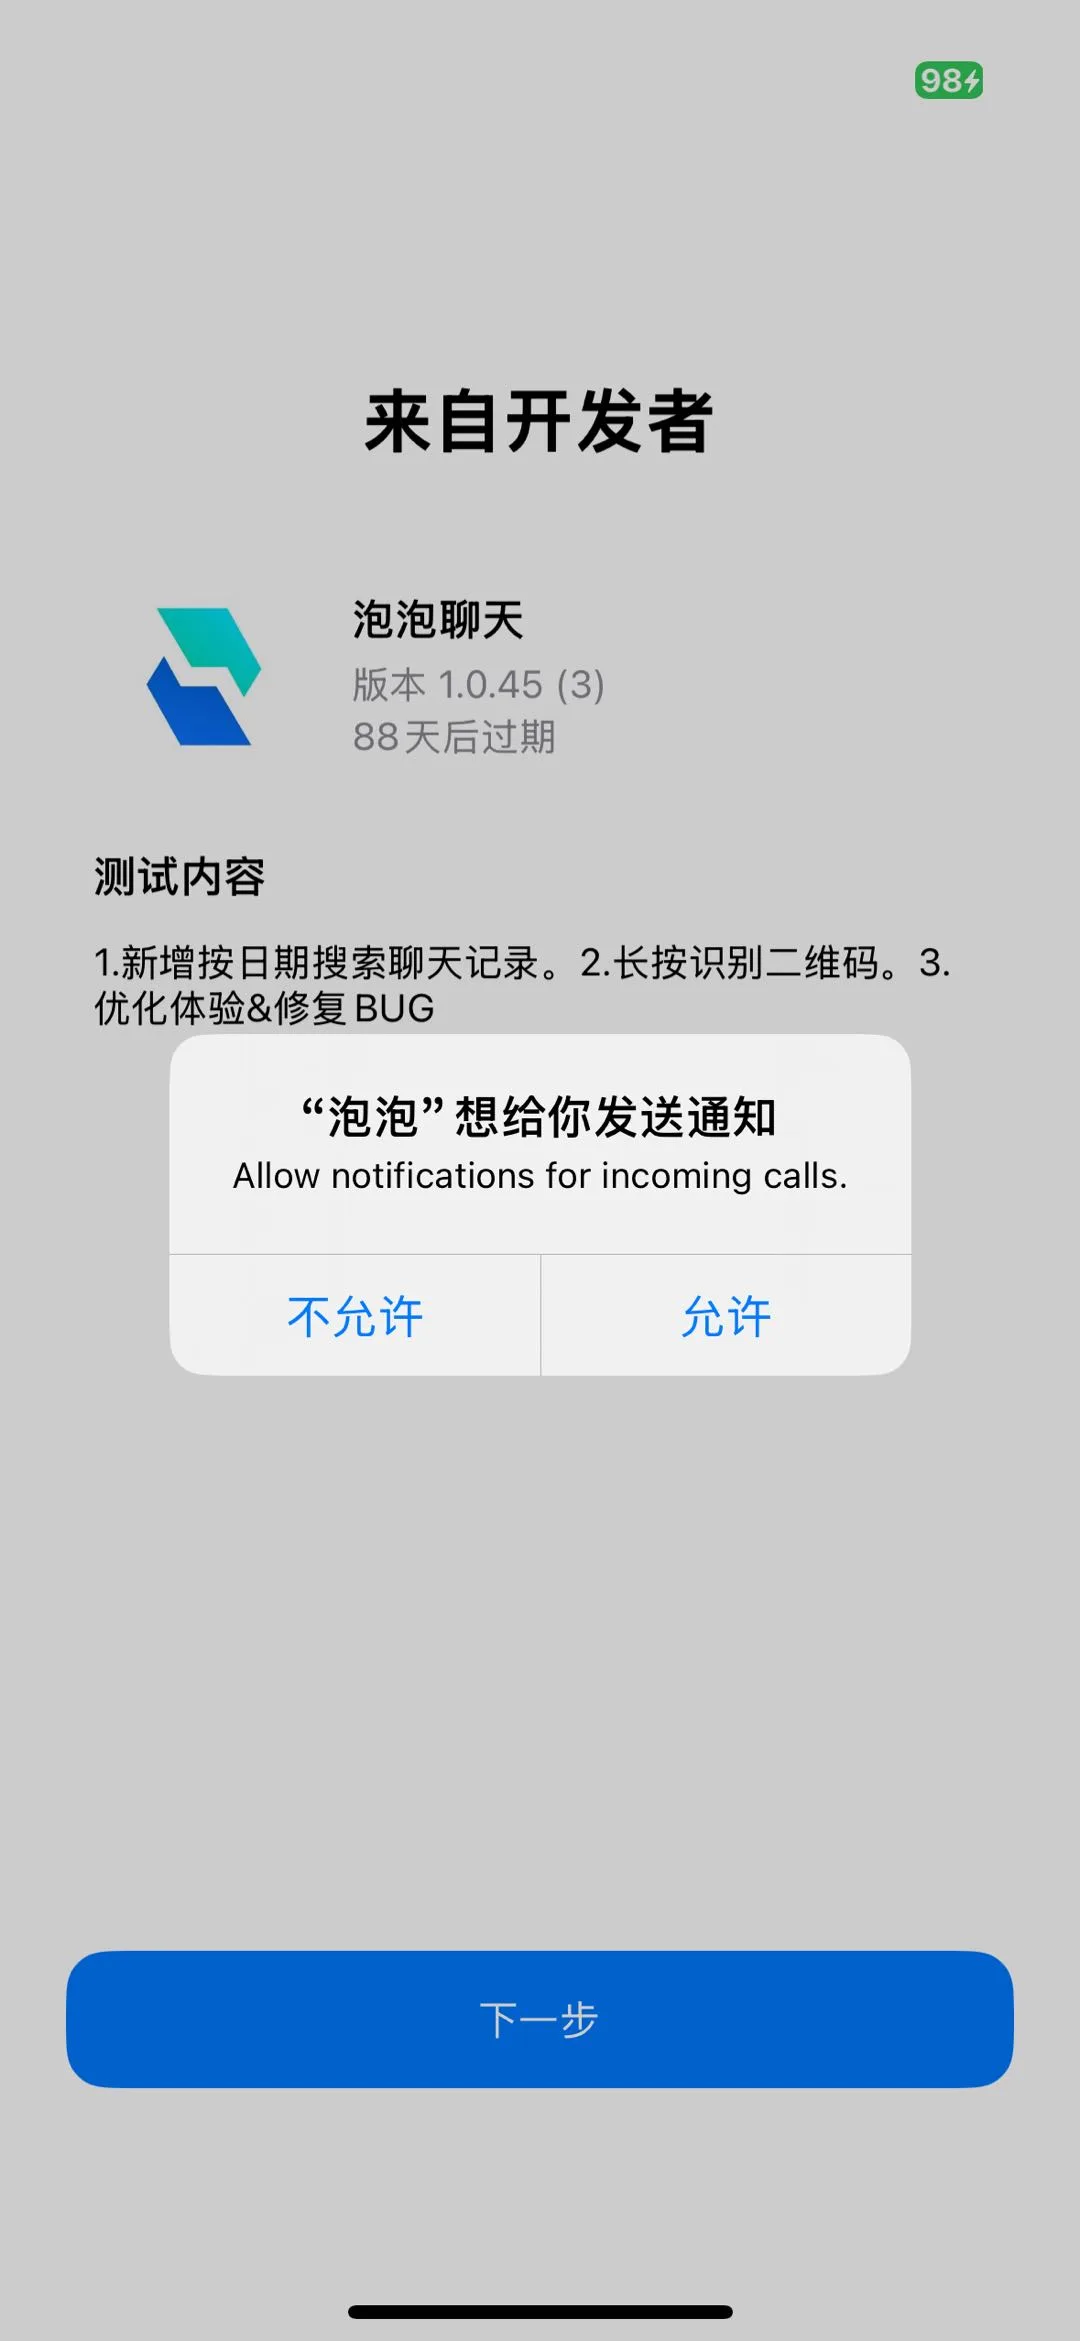
Tip: If you missed the initial prompt, you can manually enable it in system settings: Settings >> Notifications >> Bubble >> Enable "Allow Notifications"
Samsung/Google/Sony/Motorola/Nokia Offline Notification Setup
Note: Note: International phone brands like Google, Samsung, Sony, Motorola, and Nokia come with Google Play Services pre-installed.
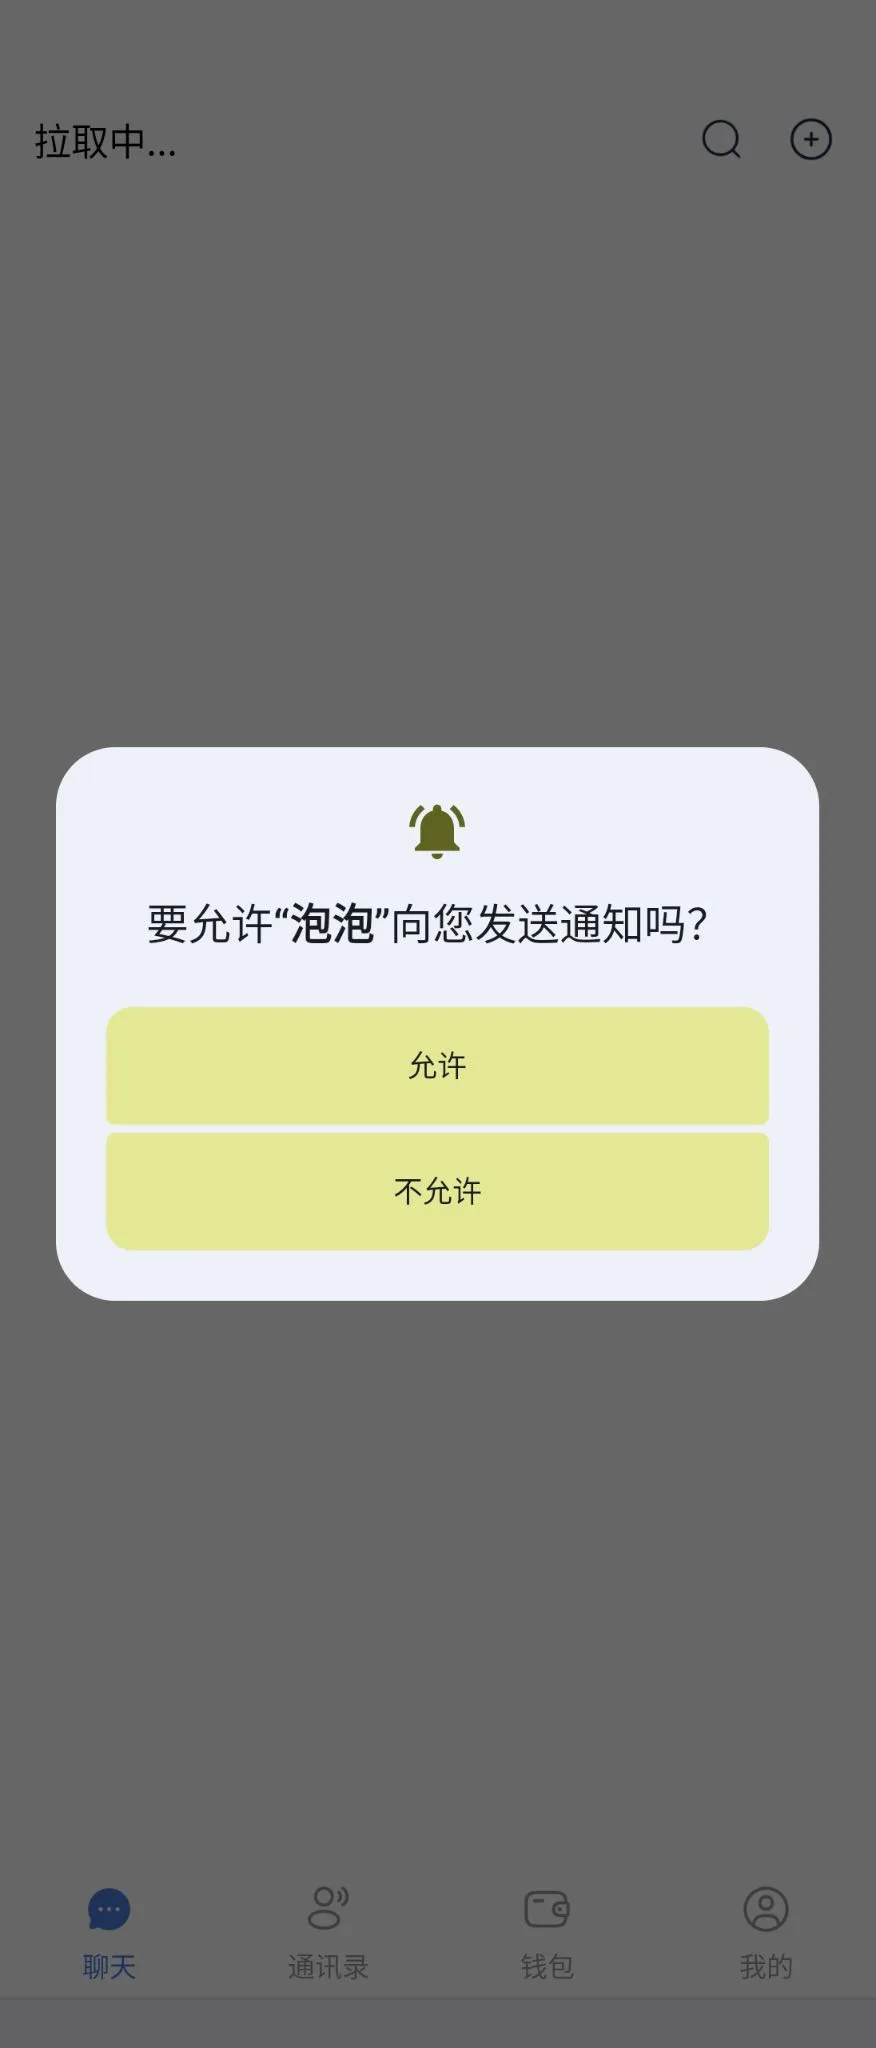
After logging into Bubble for the first time, tap "Allow" when prompted for notification permission.
If push notifications are unstable, try toggling airplane mode to reconnect, or go to Settings >> Battery >> App Launch Management, find Bubble, and enable "Allow Auto-start" and "Background Activity".
Tip: Tip: If you missed the initial prompt, you can manually enable notification permission in Settings >> Notifications >> Bubble.
Xiaomi/OPPO/VIVO/OnePlus Offline Notification Setup
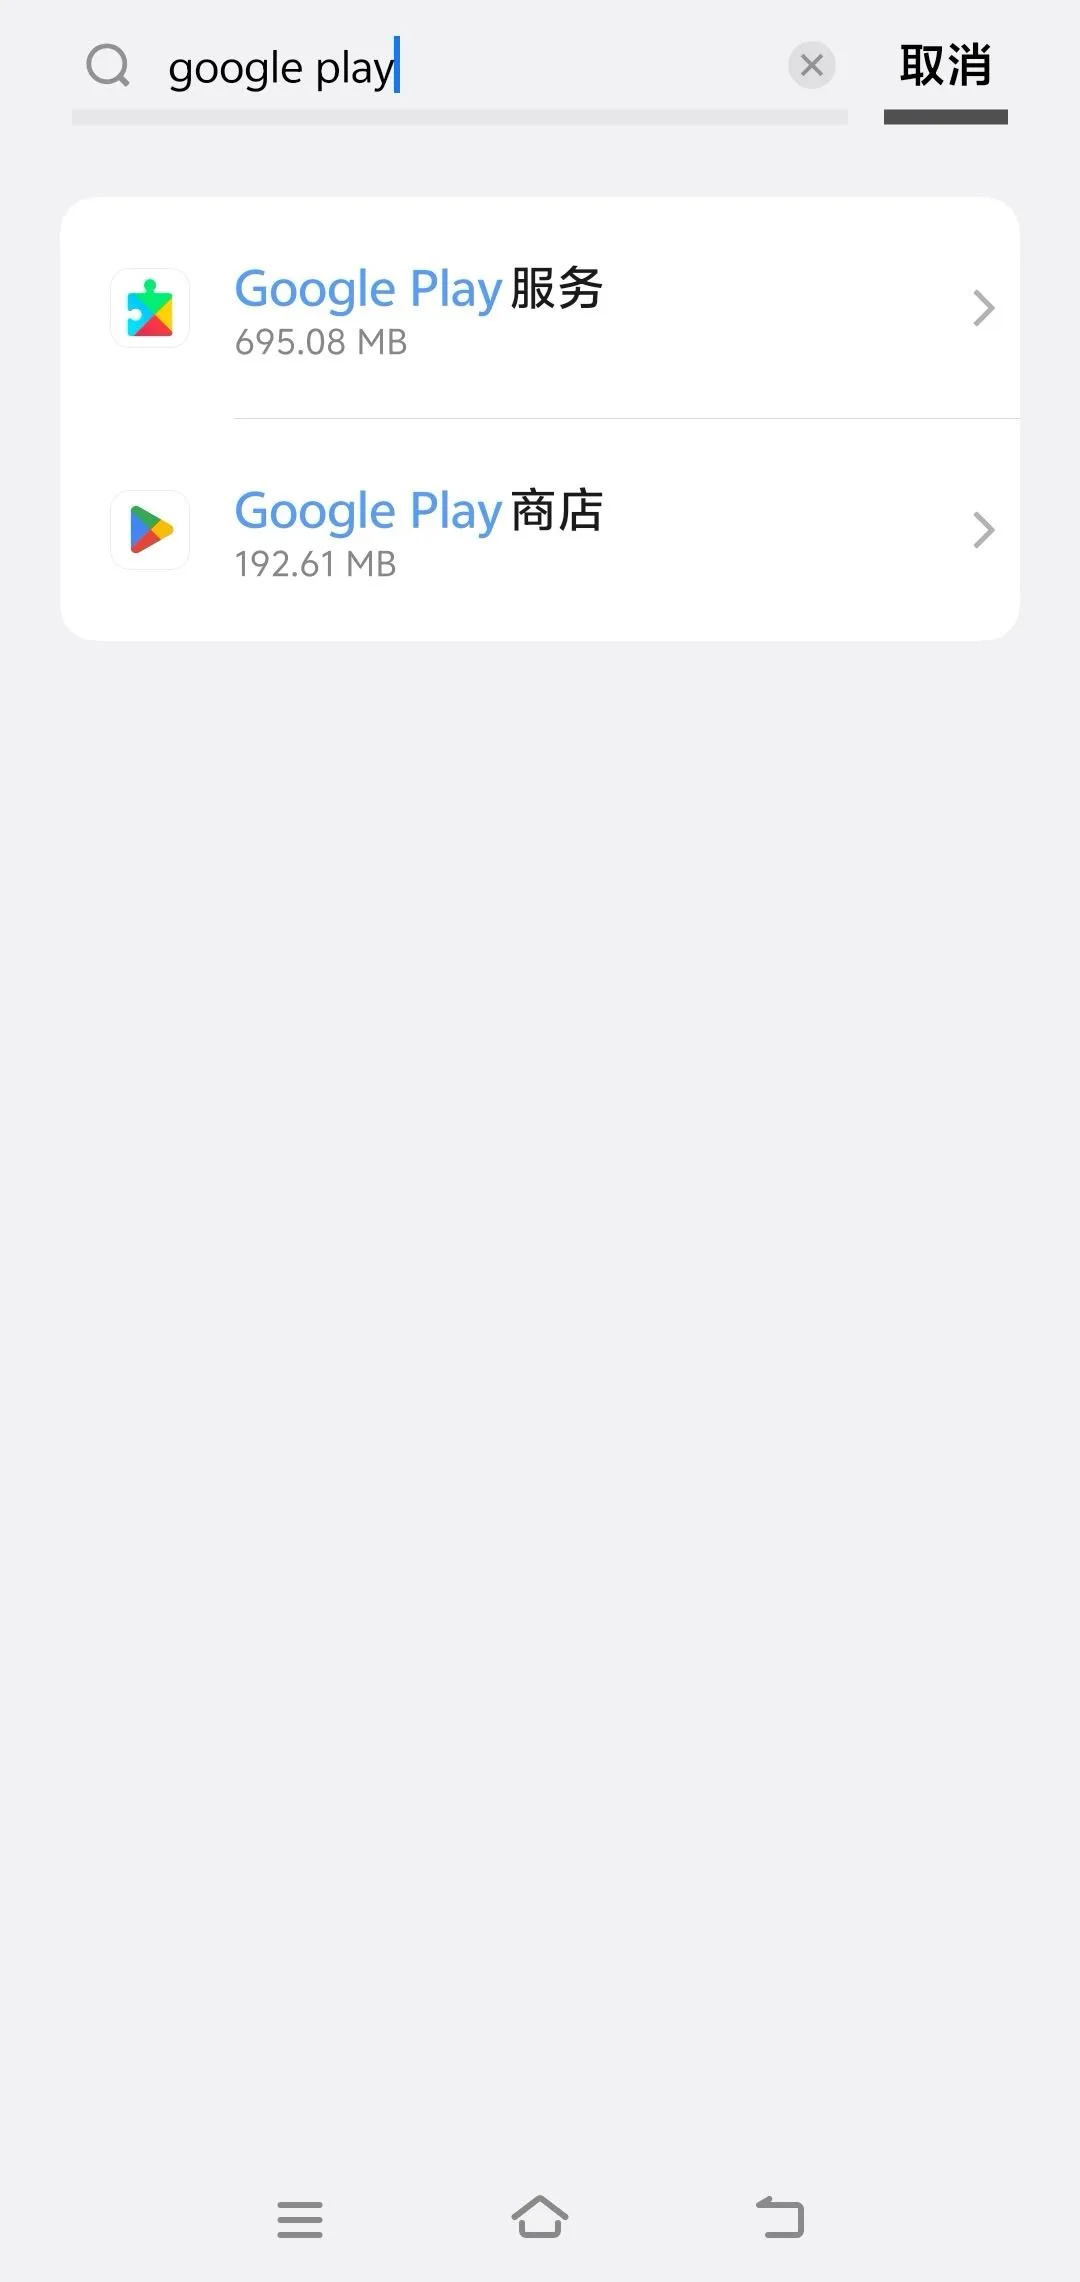
Confirm Google Play Services is Installed
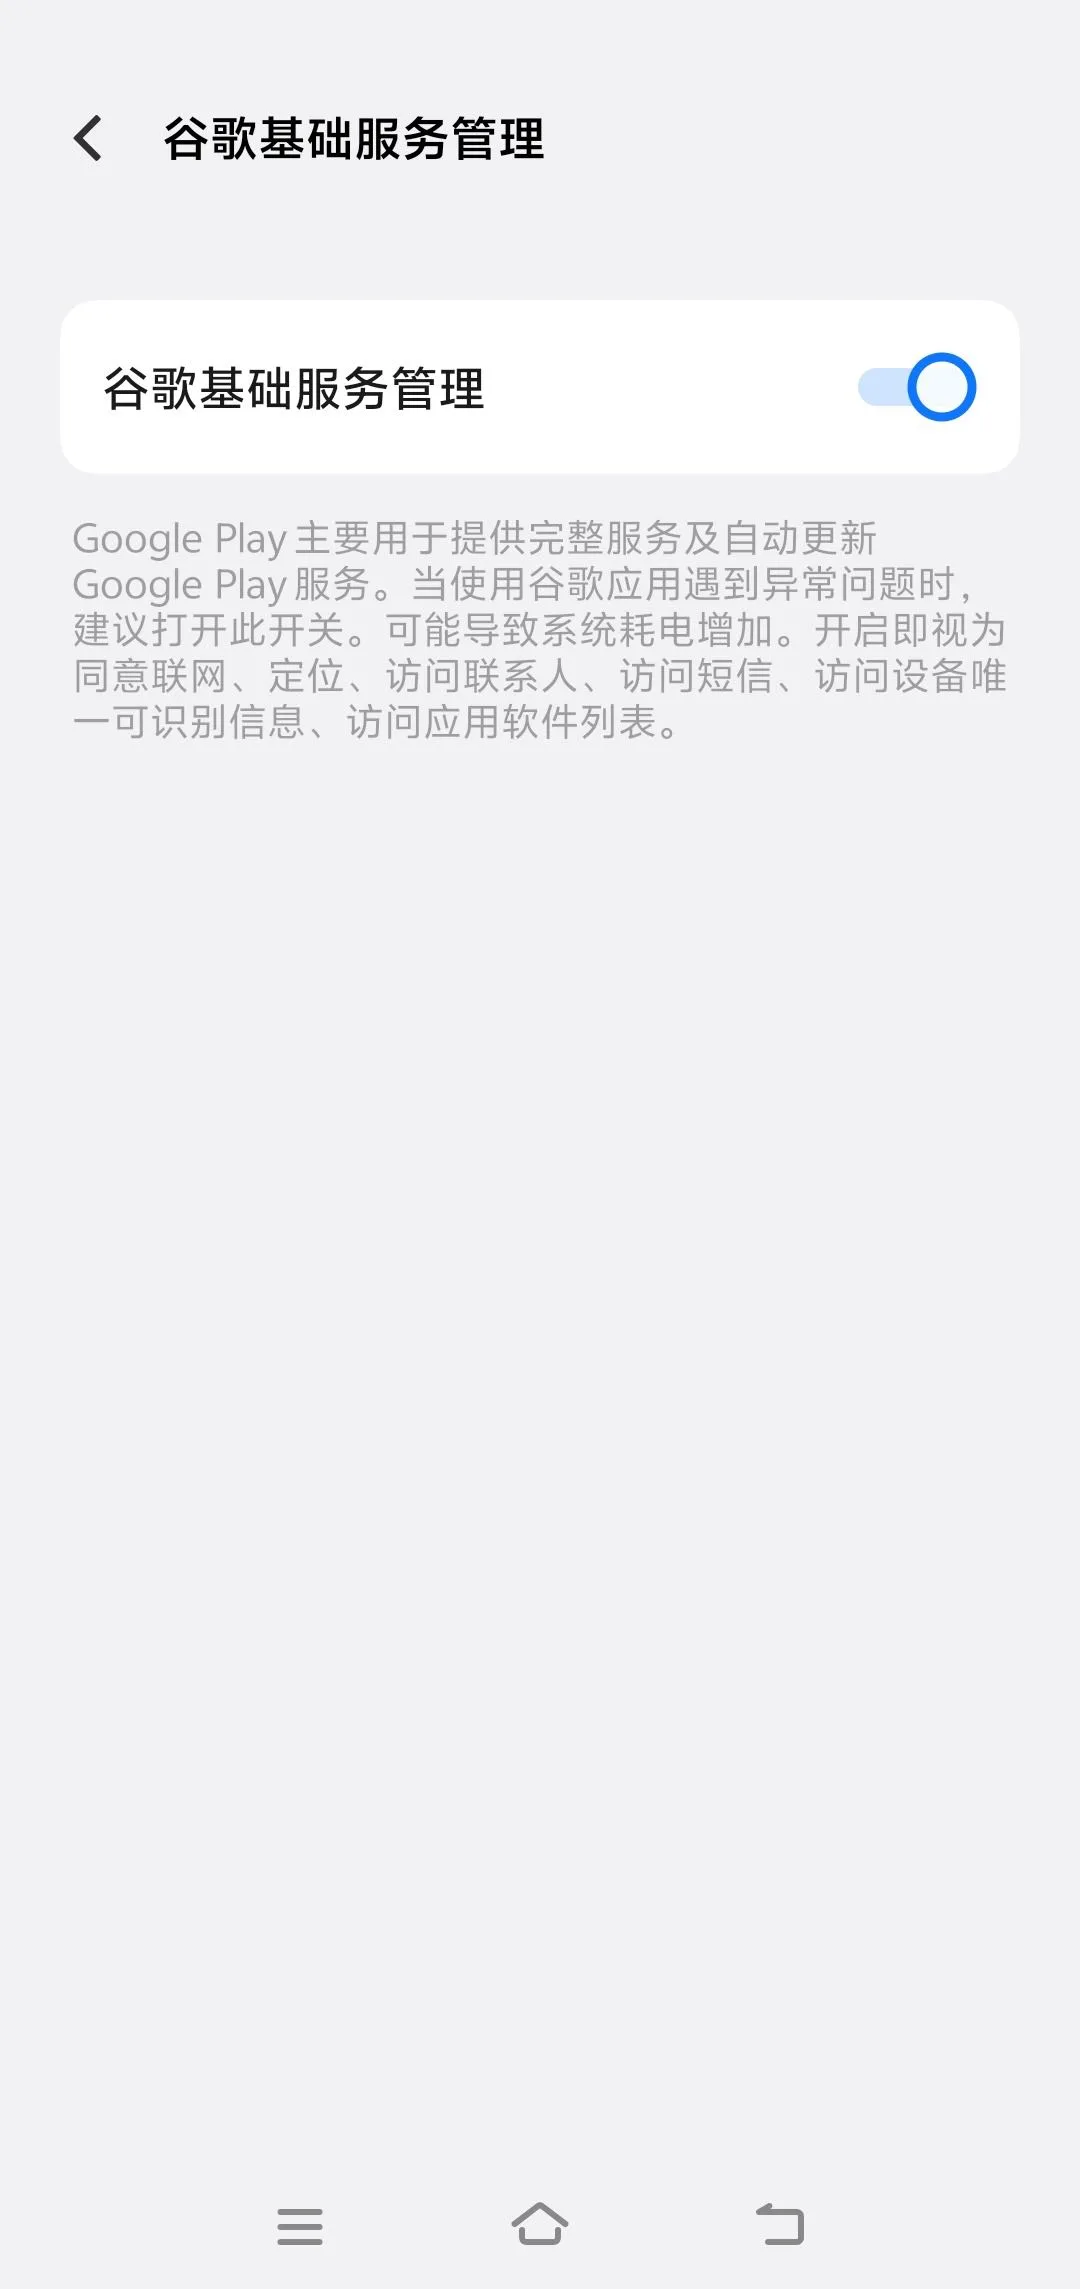
International and some domestic versions of Xiaomi/OPPO/VIVO/OnePlus devices come with Google Services pre-installed. Go to Settings >> App Management >> All Apps, search for "Google Play Services" to confirm, and go to Settings >> Accounts & Sync >> Google Base Services to enable "Google Base Services".
Note: Note: If not pre-installed, manually installing GMS may require unlocking the bootloader, flashing, etc., which carries risks and is not recommended.
Ensure Network Access to Google Servers
Due to network restrictions in mainland China, you may need a VPN to connect to FCM servers.
Test method: Visit https://google.com in your browser to check connectivity.
Configure Notification Permissions and Battery Settings
Note: Note: Using Xiaomi as an example, OPPO/VIVO/OnePlus settings are similar but paths may vary slightly.
Enable Notification Permission:
Xiaomi: Xiaomi: Settings >> Notifications & Control Center >> Notification Management >> Find Bubble >> Enable "Allow Notifications".
VIVO:VIVO: Settings >> Notifications & Status Bar >> App Notification Management >> Find Bubble >> Enable "Allow Notifications".
Allow App Auto-start:
Xiaomi: Xiaomi: Settings >> App Settings >> App Management >> Find Bubble >> Auto-start >> Select "Allow".
VIVO:VIVO: Settings >> Apps >> App Management >> Find Bubble >> Permissions >> All Permissions >> Enable Auto-start.
Allow Background Running:
Xiaomi: Xiaomi: Settings >> App Settings >> App Management >> Find Bubble >> Battery Saver >> Select "No Restrictions" or "Allow Background Running".
VIVO:VIVO: Settings >> Battery >> Background Power Consumption >> Find Bubble >> Select "Allow High Power Consumption in Background".
Disable Battery Restrictions: (Optional after completing previous step)
Settings >> Battery & Performance >> Battery >> Smart Battery Saver >> Find Bubble >> Select "No Restrictions".
Test by Sending Messages
Log in/out and re-login to Bubble, force close the app, and test by sending messages from another device.
Due to network instability in mainland China, FCM push delivery rates may not be guaranteed. If unstable, try toggling airplane mode to reconnect.
Huawei/Honor Offline Notification Setup
Note: Note: Since Huawei was added to the US Entity List in May 2019, newer Huawei/Honor devices cannot come with GMS pre-installed. You'll need to install microG emulator as an alternative. Older devices with GMS pre-installed can follow Xiaomi/OPPO setup instructions.
Install MicroG Emulator
Refer to https://zhuanlan.zhihu.com/p/24574540372 to install microG emulator as a replacement for Google Mobile Services.
Ensure Network Access to Google Servers
Due to network restrictions in mainland China, you may need a VPN to connect to FCM servers.
Test method: Visit https://google.com in your browser to check connectivity.
Confirm Bubble Service Registration
Open Bubble, register/login (if already logged in, log out and re-login) to complete FCM push service registration.
Go to Settings >> Apps & Services >> App Management >> Find microG Services >> Open microG Settings >> Google Cloud Messaging, confirm Bubble is in the list.

Configure Notification Permissions and Battery Settings
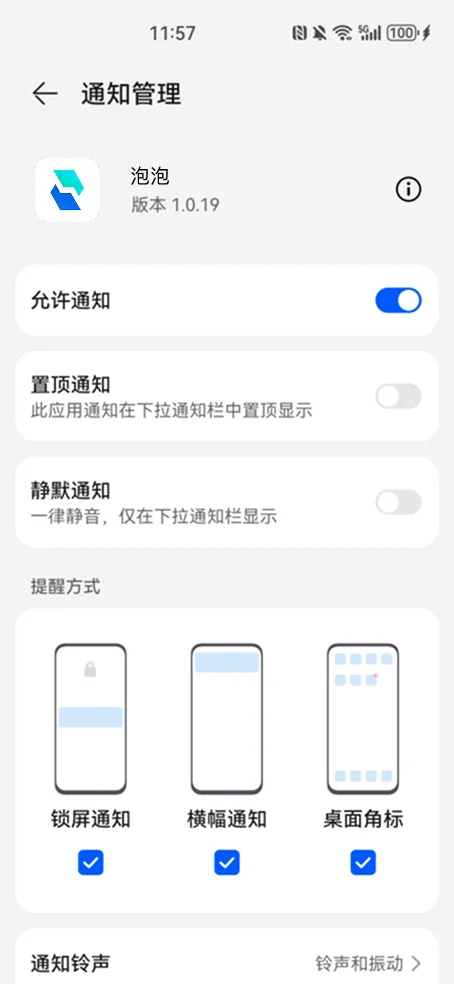
Enable Notification Permission:
Go to Settings >> Notifications & Status Bar >> Notification Management, find Bubble, allow notifications and enable banner and badge alerts.
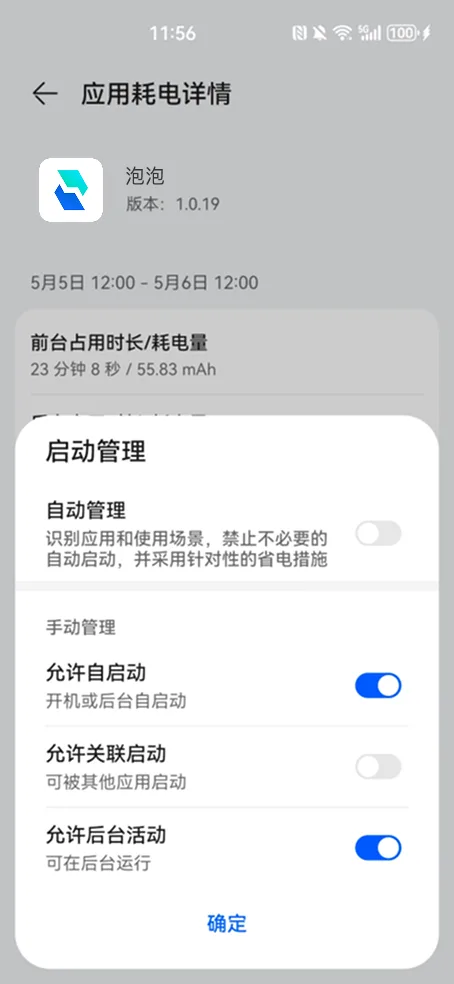
Allow App Auto-start:
Settings >> Battery >> App Launch Management, find Bubble, enable "Allow Auto-start" and "Background Activity".
Test by Sending Messages
Log out and re-login to Bubble, force close the app, and test by sending messages from another device.
Due to network instability in mainland China, FCM push delivery rates may not be guaranteed. If unstable, try toggling airplane mode to reconnect.
Need Help?
If you encounter configuration issues, please contact support:
Support Email: support@paopaochat.com